There’s something irresistibly nostalgic about a warm slice of gluten-free cherry pie. For me, it instantly takes me back to childhood summers—barefoot on cool kitchen tiles, watching my grandmother lift a bubbling pie out of the oven. Back then, it was all about the smell of sweet cherries, the golden crust, and the anticipation of the first bite. No one was talking about gluten, yet somehow, we were always baking from the heart. Today, we get to recreate that same magic—but in a way that’s safer, cleaner, and just as delicious.
This guide is your one-stop resource to master the art of baking the ultimate gluten-free cherry pie. Whether you’re living with celiac, gluten sensitivity, or simply making smarter food choices, you shouldn’t have to give up that perfect slice. From crust to filling to that final scoop of vanilla ice cream, we’re covering it all.
In this article, you’ll discover exactly how to make a flaky, buttery crust that holds together beautifully—without gluten. You’ll learn how to create a thick, sweet-tart cherry filling that won’t run all over your plate. Plus, I’ve added expert baking tips, common mistakes to avoid, delicious variations, and even answers to your top questions about making a gluten-free cherry pie and foolproof.
If you’re a fan of sweet, gluten-free classics, you’ll love our gluten-free banana nut bread muffins too—moist, nostalgic, and perfect for breakfast or dessert.
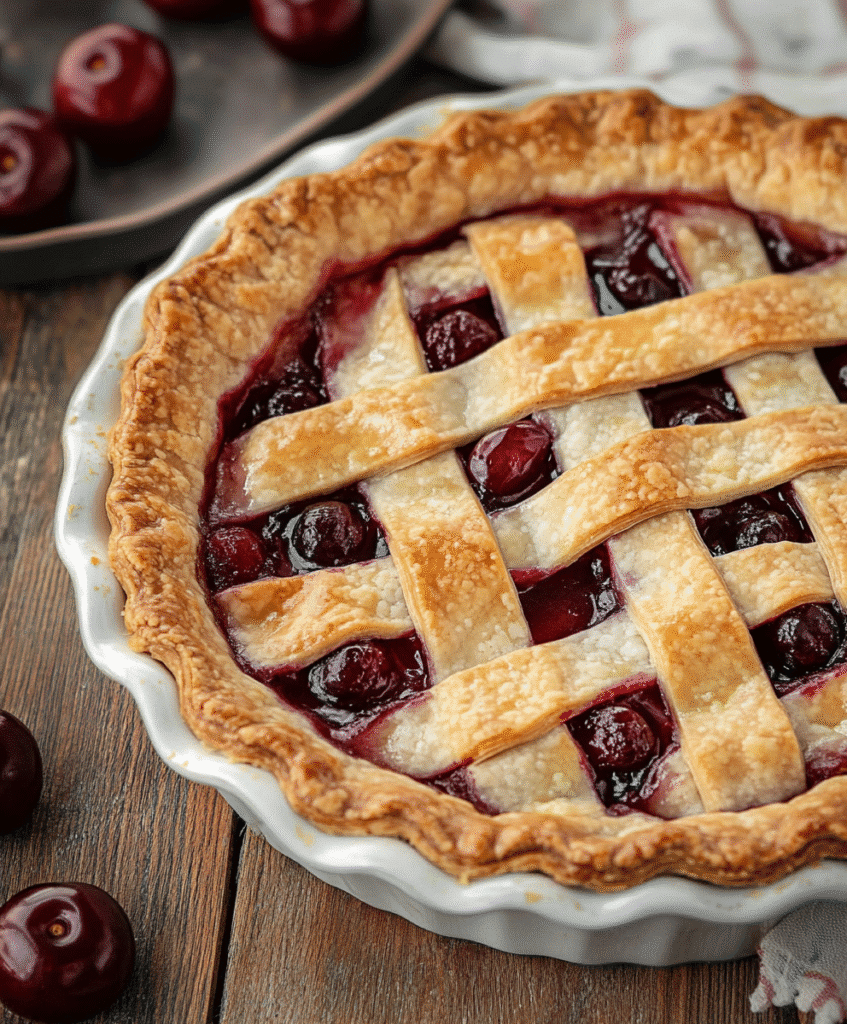
Table of Contents
Table of Contents
Why Choose a Gluten-Free Cherry Pie?
What Makes Gluten-Free Cherry Pie Special?
Let’s get this out of the way: just because it’s gluten-free doesn’t mean it’s second-rate. In fact, the best gluten-free cherry pie can rival any traditional version—it just takes the right technique and a few pantry staples to get there.
Made with a carefully crafted gluten-free crust and a stovetop cherry filling that stays perfectly thick after baking, this dessert is proof that you don’t need gluten to enjoy rich flavor and perfect texture. It’s one of the few gluten-free pies where you really can’t tell the difference—and that’s exactly the goal.
If you’re gluten-free, this recipe means you finally get to have your pie and eat it too. If you’re not gluten-free? You’ll probably ask for a second slice anyway. It’s that good.
The Rise of Gluten-Free Baking Trends in the USA
The gluten-free movement isn’t going anywhere. With more families recognizing the health and digestive benefits of ditching wheat, the market has exploded with better ingredients, smarter flours, and tastier results. But pies—especially cherry pies—were always a challenge. Until now.
Thanks to modern blends of almond flour, tapioca, and rice flour, we can now recreate that crisp, flaky bite that used to rely on gluten. And the filling? Made with sweet cherries, lemon juice, and just the right gluten-free thickener like cornstarch or arrowroot, it’s glossy, jammy, and never runny.
Whether you’re baking for a summer picnic, a holiday gathering, or just because, a gluten-free cherry pie brings comfort and joy—without compromise. It’s more than a dessert. It’s a gluten-free triumph.
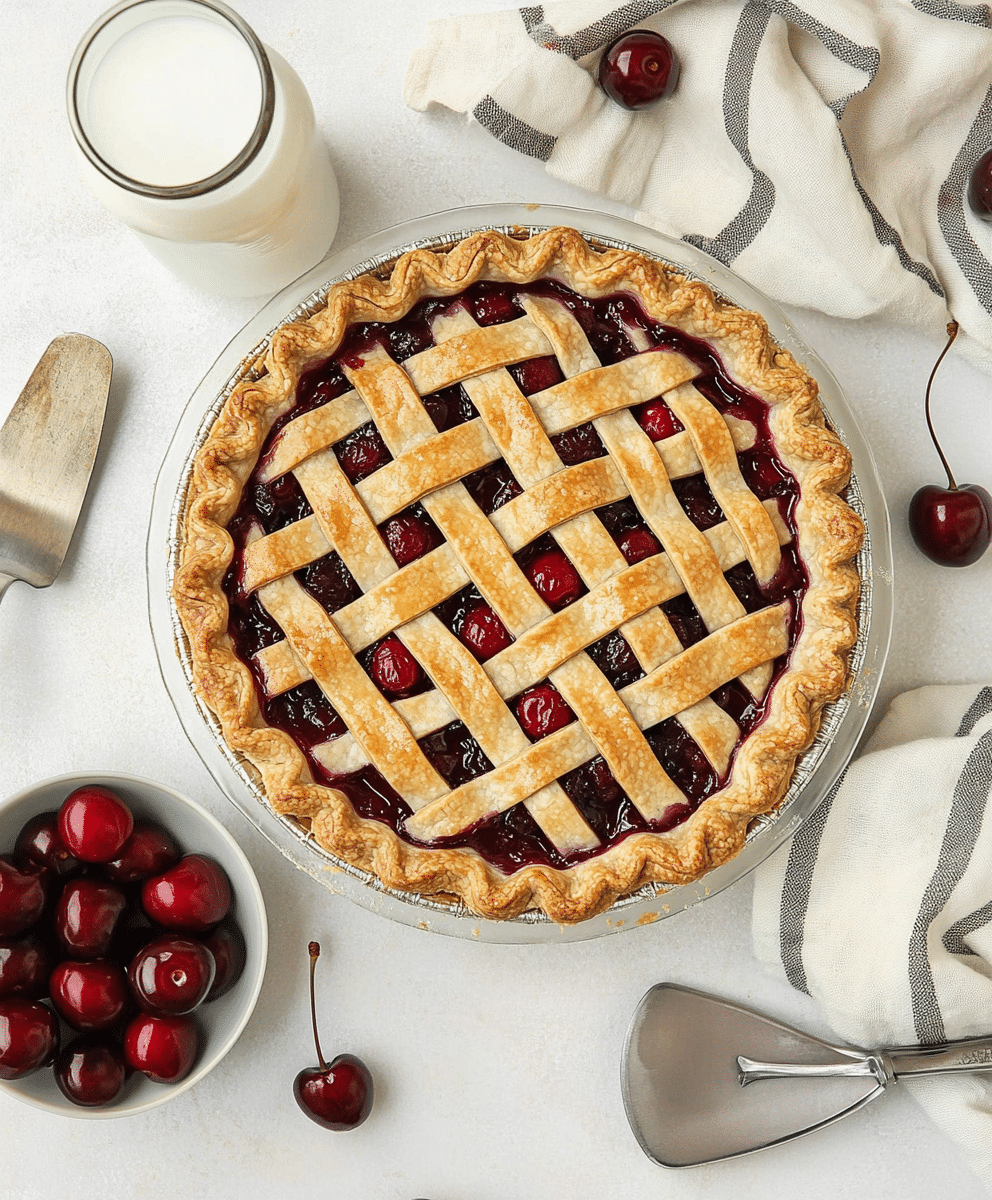
Gluten-Free Cherry Pie: The Ultimate Guide for a Perfect Summer Dessert
Ingredients
Method
- In a saucepan, combine cherries, sugar, lemon juice, and cinnamon. Cook over medium heat.
- Mix cornstarch with cold water (or amaretto) until smooth.
- Stir into cherry mixture and cook until thickened. Remove from heat and stir in almond extract.
- Chill for 1–2 hours before using.
- Blend flour, salt, and sugar. Cut in butter and shortening until crumbly.
- Add egg, vinegar, and water slowly until dough forms. Divide into 2 discs. Chill for at least 1 hour.
- Roll out one dough disc into a 12-inch circle. Place in 9-inch pie pan.
- Add chilled cherry filling evenly.
- Roll out second disc and place on top (lattice or full crust). Seal and crimp edges.
- Brush with egg wash. Sprinkle sugar if desired.
- Bake at 400°F (200°C) for 20 minutes. Lower to 375°F (190°C) and bake another 35–40 minutes.
- Cool completely for 4–6 hours before slicing.
Nutrition
Notes
Tried this recipe?
Let us know how it was!Choosing the Best Ingredients for a Gluten-Free Cherry Pie
Fresh vs Frozen Cherries: What Works Best
When it comes to crafting the perfect gluten-free cherry pie, your choice of cherries makes a huge difference. While fresh cherries bring unbeatable flavor and a firmer texture, frozen cherries are a convenient, year-round option that still pack a punch—just remember not to thaw them before using.
Fresh sweet cherries (like Bing or Rainier) offer deeper color and more natural sweetness. They also hold their shape better in the pie. However, they take time to pit—and that can get messy unless you’re using a multi-cherry pitter.
Frozen cherries, especially if they’re dark sweet varieties, still work beautifully. The key is cooking them down with sugar and a thickener on the stovetop until the filling is syrupy and set. This method guarantees your pie filling won’t be watery or thin, which is especially important in gluten-free baking where soggy crusts are a real risk.
If you’re using sour cherries, bump up the sugar to balance that tartness. For both fresh and frozen cherries, a touch of cinnamon and lemon juice will brighten the flavor and give the pie that homemade taste we all remember.
Best Gluten-Free Pie Crust Options (Homemade & Store-Bought)
The crust is often what separates a good pie from a great one. And when making a gluten-free cherry pie, you need a crust that’s flaky, buttery, and easy to handle.
A homemade gluten-free pie crust made from a blend of rice flour, tapioca starch, and almond flour offers the best texture. Add a pinch of xanthan gum to help mimic gluten’s binding magic. Keep all ingredients cold—including the butter and water—for the flakiest results. You can even make the dough a day ahead and chill it until you’re ready to roll.
Not ready to DIY? No worries. There are excellent store-bought gluten-free pie crusts available. Look for brands with clean labels, no hydrogenated oils, and flours you recognize. These can be a lifesaver when you’re short on time.
One surprising twist? Some people opt for a gluten-free graham cracker crust for cherry pie, especially when layering with cream cheese or pudding. While nontraditional, it adds a toasty, nutty vibe that pairs surprisingly well with cherries.
Want a delicious brunch pairing? Try these easy 4-ingredient gluten-free biscuits alongside your pie prep for a flaky, savory side.
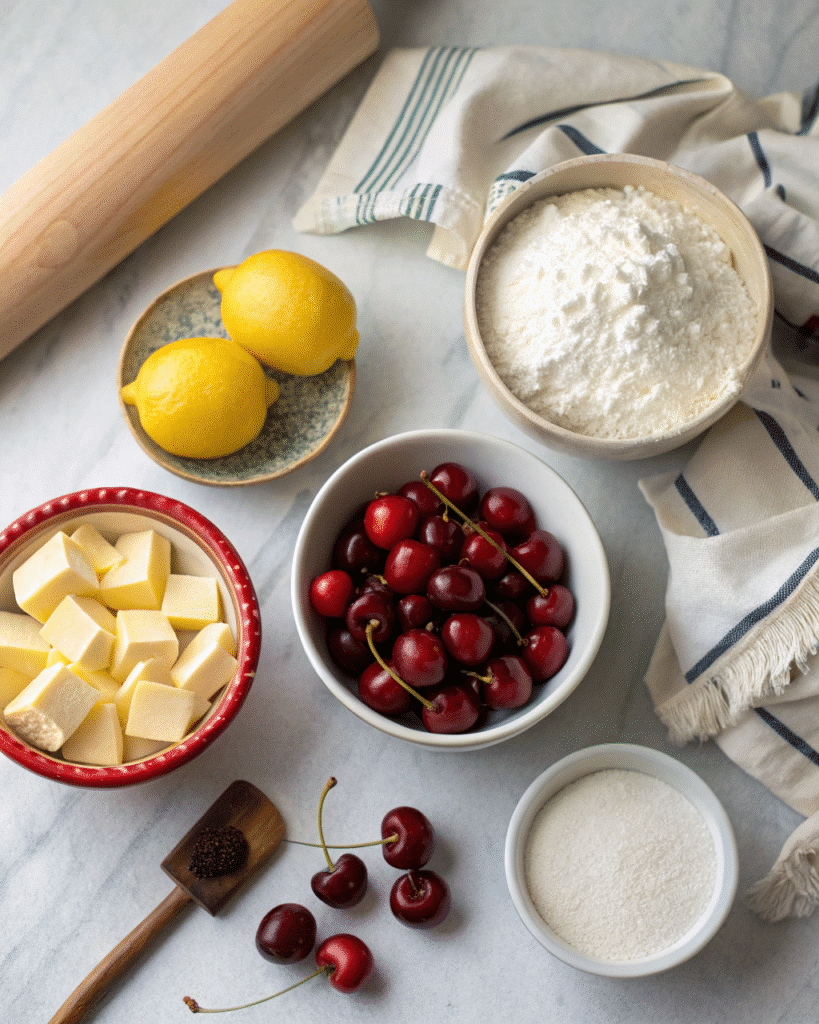
Preparing the Cherry Pie Filling the Right Way
How to Thicken Gluten-Free Cherry Pie Filling Naturally
One of the most common challenges with any cherry pie is that dreaded runny filling. But when making a gluten-free cherry pie, the stakes are even higher—because we’re not relying on traditional flour to act as a thickener. Instead, we turn to gluten-free, grain-friendly options that do the job just as well (if not better).
The best natural thickeners for cherry pie filling include:
| Thickener | Texture Result | Best For |
|---|---|---|
| Cornstarch | Glossy and firm | Traditional cherry pies |
| Arrowroot starch | Silky, slightly lighter | Grain-free, paleo-friendly baking |
| Tapioca starch | Smooth with bounce | Juicy, high-moisture fruit fillings |
Whichever you use, the method remains key: cook the filling on the stovetop before it hits the crust. This step allows the sugars to melt, the fruit to break down slightly, and the starch to activate fully—giving you that glossy, thick, luscious result you’re after.
Stir constantly as you add your starch slurry (mix starch with a bit of liquid like amaretto or water first). Allow it to boil for 1–2 minutes until it thickens. Then cool it in the fridge for 2–3 hours before adding it to your crust.
Flavor Boosters: Lemon, Cinnamon & Amaretto
If you think cherry pie is just cherries and sugar, think again. The best gluten-free cherry pies hit different because they bring layers of flavor with each bite. Here are the three secret weapons:
- Lemon Juice – Adds brightness and balances the sweetness.
- Cinnamon – Just a pinch can bring warm, comforting depth.
- Amaretto – This almond-flavored liqueur takes the pie from good to unforgettable.
Almond and cherry are best friends in the flavor world. That’s why amaretto works so well—it intensifies the fruitiness while adding a nutty background note. If you prefer to keep it alcohol-free, substitute with cold water and a bit of almond extract instead.
This combo gives your cherry filling the kind of bold, bakery-level flavor you rarely get in store-bought gluten-free pies.
Tools You Need to Bake Like a Pro
Essential Baking Tools for Cherry Pie
You don’t need a full bakery setup to create the perfect gluten-free cherry pie at home—but a few key tools can make the process smoother, cleaner, and way more fun.
Here’s what should be in your cherry pie toolkit:
| Tool | Purpose | Pro Tip |
|---|---|---|
| Multi-Cherry Pitter | Quickly pits multiple cherries at once | Saves time and minimizes cherry juice mess |
| French Rolling Pin | Rolls out even, thin crusts with control | Ideal for delicate gluten-free doughs |
| Stainless Steel Pie Pan (9-inch) | Conducts heat evenly for a crisp base | Choose one with a flat edge for clean crimping |
| Pastry Brush | Applies egg wash for golden crust | Soft bristles are gentler on gluten-free dough |
| Pie Shield or Aluminum Foil | Prevents crust edges from burning | Use after the first 15 minutes of baking |
| Cooling Rack | Allows air to circulate under the pan | Prevents soggy crusts on the bottom |
Each of these tools plays a specific role in ensuring your pie comes out looking—and tasting—like it came from a professional bakery.
Using a Cherry Pitter Without the Mess
Let’s be real: cherry pitting can be a sticky, time-consuming mess. I used to avoid fresh cherries just because of it—until I found a game-changing solution: a multi-cherry pitter.
Unlike the single-hand pitters that shoot cherry juice across your backsplash, this tool allows you to load 6–8 cherries at once and pit them cleanly into a container. It’s fast, efficient, and spares your shirt.
That said, no gadget is perfect. Sometimes a stubborn pit might slip through. That’s why after pitting, it’s smart to give each cherry a gentle squeeze—you’ll feel if one’s hiding inside. Trust me, finding a missed pit mid-bite is not part of the cherry pie charm.
For frozen cherries? No pitting needed—just dump straight from the bag into the saucepan.
Looking for other gluten-free recipes that rely on simple tools? These gluten-free pancakes are just as easy to make and require only a few pantry staples.
Step-by-Step Recipe: How to Make a Gluten-Free Cherry Pie
Prepping the Crust & Making the Filling
A perfect gluten-free cherry pie starts with solid prep. Don’t rush it—chill your ingredients, prep your workspace, and give your filling time to set. Here’s how to do it right.
Ingredients You’ll Need:
For the Filling:
- 4 cups fresh or frozen sweet cherries (pitted)
- 1 cup granulated sugar
- 2 tablespoons lemon juice
- ⅛ tsp cinnamon (optional)
- ¼ cup cornstarch (or tapioca/arrowroot starch)
- 50 ml amaretto (or cold water + ½ tsp almond extract)
For the Crust:
- 1 recipe gluten-free pie dough (top & bottom crusts)
- 1 large egg + 1 tbsp water (for egg wash)
- Turbinado or sparkling sugar (for topping)
Step-by-Step Instructions:
Step 1: Make the Cherry Filling
- In a medium saucepan over medium heat, combine cherries, sugar, lemon juice, and cinnamon.
- Stir occasionally until the mixture begins to simmer and juices are released.
- In a small bowl, whisk cornstarch and amaretto (or water + almond extract) until smooth.
- Slowly pour the slurry into the cherries while stirring constantly.
- Let it boil for 1–2 minutes, stirring continuously until thickened.
- Remove from heat and transfer to a bowl. Cover and refrigerate for at least 2 hours.
Step 2: Prepare the Gluten-Free Crust
- On a lightly floured surface (use gluten-free flour), roll out the bottom crust.
- Gently lay it into a 9-inch pie pan, trimming the excess at the edges.
- Chill crust in fridge while the filling continues to cool.
Step 3: Assemble the Pie
- Preheat oven to 400°F (205°C).
- Spoon the chilled filling into the prepared pie shell and level the top.
- Roll out the top crust and either leave it solid or cut decorative vents or patterns.
- Lay it over the filling and crimp the edges to seal.
- Brush the top with egg wash and sprinkle with turbinado sugar.
Assembling, Baking, and Cooling Tips
- Bake at 400°F for 15 minutes, then reduce to 350°F.
- Cover the edges with foil or a pie shield to prevent burning.
- Continue baking for 45–50 minutes, or until the filling is visibly bubbling through the vents.
- Place the pie on a baking sheet lined with foil to catch any drips.
- Let the pie cool on a rack completely before slicing—this ensures the filling sets.
| Baking Stage | Temperature | Duration |
|---|---|---|
| Initial Bake | 400°F | 15 mins |
| Final Bake | 350°F | 45–50 mins |
Trust the process. Don’t cut the pie too early—waiting until it’s cool means you’ll get clean, beautiful slices with perfectly set cherry filling.
Common Mistakes to Avoid in Gluten-Free Pie Baking
Why Your Crust Might Fall Apart
Let’s be honest—working with gluten-free pie dough can be… frustrating. It lacks the elasticity that regular dough gets from gluten, making it more prone to cracking, tearing, or falling apart. But with a few smart techniques, you can avoid disaster.
Common crust pitfalls & fixes:
| Mistake | Why It Happens | How to Fix It |
|---|---|---|
| Dough is too dry | Not enough moisture or fat | Add cold water 1 tsp at a time while mixing |
| Dough crumbles when rolling | Overworked or under-hydrated | Let it rest in the fridge and roll between parchment |
| Shrinking during bake | Overmixed dough | Handle it minimally and avoid stretching it in the pan |
| Falls apart during transfer | No support | Use your rolling pin to lift and lay dough carefully |
Pro Tip: Chill everything—your flour, butter, and even your mixing bowl. Cold ingredients = flakier crust.
And if all else fails? Press the dough directly into the pie pan instead of rolling. It won’t look like Grandma’s—but it’ll taste just as good.
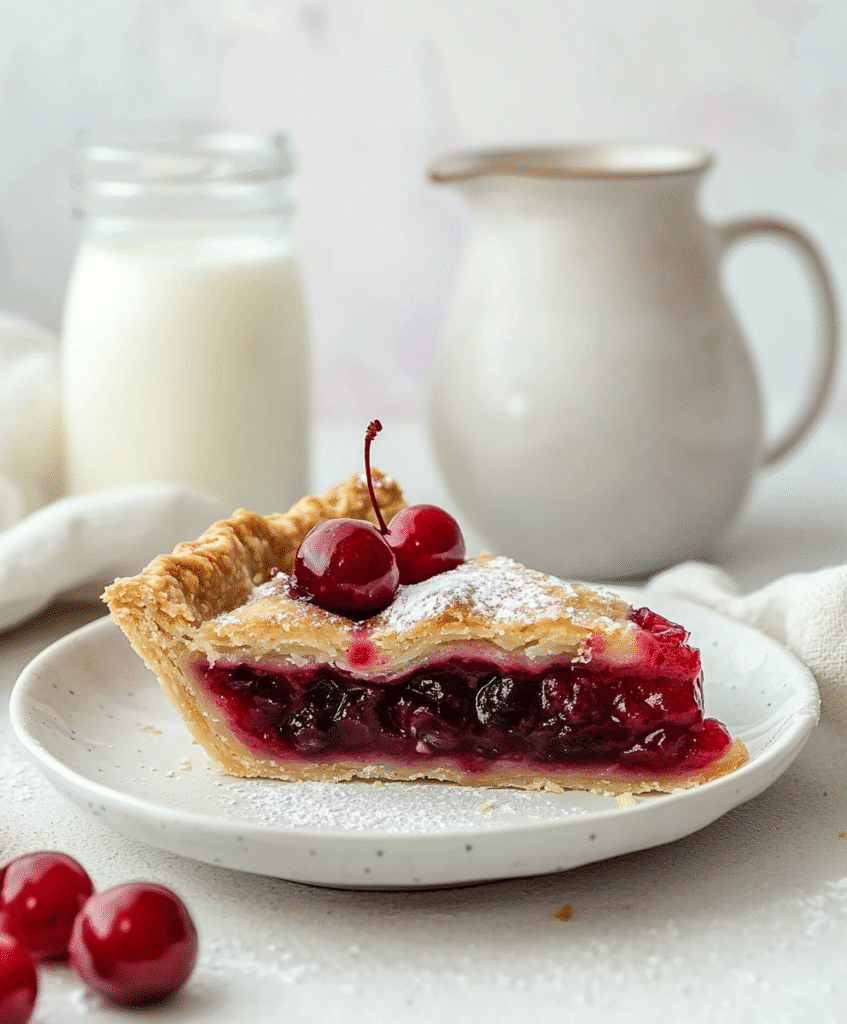
Fixing Runny or Over-Gelled Cherry Filling
Filling texture is everything. Too runny? Your pie turns into a puddle. Too thick and jelly-like? It loses that luscious, spoonable bite.
What causes a runny gluten-free cherry pie filling?
- Not enough thickener
- Skipped the stovetop cooking step
- Didn’t let the filling cool before baking
What causes overly thick/jelly-like filling?
- Too much cornstarch
- Overcooked the filling
- Didn’t balance with enough liquid
Fix It Fast:
- Use ¼ cup cornstarch or arrowroot per 4 cups cherries.
- Always cook the filling before adding it to the crust.
- Chill the filling before baking to help it set evenly.
Your filling should be glossy, thick, and hold its shape—but still spoonable. A little jiggle is a good thing.
Crust still giving you trouble? Learn how to perfect gluten-free baking textures with our foolproof gluten-free chocolate cupcakes—moist, rich, and beautifully structured.
Step-by-Step Recipe: How to Make a Gluten-Free Cherry Pie
Prepping the Crust & Making the Filling
Making a gluten-free cherry pie from scratch is easier than it seems—and so worth it. With the right process and a bit of chill time, you’ll end up with a dessert that’s flaky, fruity, and unforgettable. Here’s how to break it down step by step.
Ingredients for Gluten-Free Cherry Pie:
Filling:
- 4 cups fresh or frozen sweet cherries (pitted)
- 1 cup granulated sugar
- 2 tbsp lemon juice
- ⅛ tsp cinnamon (optional)
- ¼ cup cornstarch or arrowroot (as gluten-free thickeners)
- 50 ml amaretto (or substitute with cold water + ½ tsp almond extract)
Crust:
- 2 gluten-free pie crusts (one for the base, one for the top)
- 1 egg (for egg wash) + 1 tbsp cold water
- Turbinado sugar for topping
Instructions:
Step 1: Make the Filling
- In a medium saucepan, add cherries, sugar, lemon juice, and cinnamon.
- Heat over medium and stir gently until it begins to simmer.
- In a bowl, whisk cornstarch with amaretto or almond water mix until smooth.
- Add this slurry to the cherry mixture while stirring continuously.
- Let it boil for 1–2 minutes until the mixture thickens to a jam-like consistency.
- Transfer to a bowl, cover, and refrigerate for 2–3 hours.
Step 2: Prepare the Gluten-Free Crust
- Roll out the bottom gluten-free pie crust and gently press into a 9-inch pie pan.
- Trim excess dough and chill in the fridge until the filling is ready.
Step 3: Assemble the Pie
- Preheat oven to 400°F.
- Pour the cooled cherry filling into the pie crust.
- Roll out the top crust, cut vent holes, and place over the filling.
- Seal and crimp the edges. Brush with egg wash and sprinkle with sugar.
- Place pie on a foil-lined baking sheet to catch any drips.
Step 4: Bake
- Bake at 400°F for 15 minutes.
- Lower heat to 350°F and cover the crust edges with foil or a pie shield.
- Continue baking for 45–50 minutes, until the filling is bubbling and the top is golden.
Let your gluten-free cherry pie cool completely on a rack before slicing. This helps the filling set and gives you perfect, clean cuts every time.
Common Mistakes to Avoid in Gluten-Free Pie Baking
Why Your Gluten-Free Cherry Pie Crust Might Crumble
Gluten-free baking is a different game, especially when it comes to pies. Without gluten, it’s easy for crusts to fall apart. That’s why making a successful gluten-free cherry pie means knowing how to troubleshoot crust texture before and during baking.
Most common crust mistakes:
| Issue | Cause | Fix |
|---|---|---|
| Dough cracks or breaks | Too dry or cold | Add a tablespoon of cold water and reroll |
| Crust shrinks in the oven | Overmixed dough | Mix gently, don’t overwork |
| Crust falls apart while rolling | Dough is fragile | Roll between parchment sheets |
| Tough crust | Overbaked or thick | Roll evenly and watch the timer |
One helpful trick is to use cold butter and ice water and keep your dough chilled before rolling. Gluten-free dough dries faster, so always cover it with a towel when not in use.
Fixing Cherry Pie Filling Issues
Whether you’ve baked dozens of pies or this is your first gluten-free cherry pie, the filling can make or break the result. Too runny and it spills everywhere; too thick and it feels gummy.
Runny Cherry Filling:
- Caused by undercooking or not enough starch.
- Fix: Cook the filling on the stove until thickened before adding to the crust.
Over-Gelled Cherry Filling:
- Caused by excess starch or overcooking.
- Fix: Use the correct starch-to-fruit ratio. For 4 cups of cherries, use ¼ cup cornstarch or tapioca.
Remember: gluten-free cherry pie filling should be spoonable, hold its shape, and have a glossy texture. Always let your filling cool before it goes into the crust—that’s the key to preventing soggy bottoms and leaking sides.
Creative Variations of Gluten-Free Cherry Pie
Mini Pies, Hand Pies & Tartlet Twists
Baking a classic gluten-free cherry pie is already rewarding—but sometimes, bite-sized variations can bring even more joy (and convenience). Whether you’re hosting a picnic, preparing lunchbox treats, or want single-serve desserts for guests, mini pies and tartlets are your go-to twist on tradition.
Mini Gluten-Free Cherry Pies:
Use a muffin tin and line each cup with circles of gluten-free pie dough. Spoon in your cooled cherry filling, then top with smaller rounds of dough or lattice strips. Bake until golden and bubbling.
Gluten-Free Cherry Hand Pies:
These are perfect for on-the-go snacking. Roll out your gluten-free pie dough and cut into circles or rectangles. Fill one half, fold, seal, and crimp the edges. Bake until golden for a rustic, portable take on a gluten-free cherry pie.
Tartlets:
For a more elegant version, press your crust into mini tart pans and bake blind. Once cooled, add cherry filling and top with whipped cream or shaved chocolate for a modern dessert twist.
No matter the shape, each variation retains the rich, juicy flavor of a traditional gluten-free cherry pie, just in a more playful (and often easier to serve) format.
Graham Cracker Crust & Vanilla Pudding Layers
While a flaky, double-crust gluten-free cherry pie is a classic, there’s no rule that says you can’t mix it up. If you’re craving different textures or shortcuts, try these alternatives:
Graham Cracker Crust
Gluten-free graham crackers are widely available now, making this crust variation a breeze.
- Combine 1½ cups gluten-free graham cracker crumbs with ¼ cup sugar and 6 tablespoons melted butter.
- Press into a pie dish and bake at 350°F for 10 minutes.
- Let cool, then fill with your cherry pie filling.
This version of a gluten-free cherry pie delivers a toasty, nutty crunch that beautifully contrasts the sweet, syrupy cherry filling. It’s also great for no-bake or chilled versions.
Vanilla Pudding Layer
Take your gluten-free dessert game up a notch by layering pudding under your cherry topping.
- Spoon gluten-free vanilla pudding into a pre-baked crust.
- Top with cooled cherry filling.
- Chill for 2 hours and serve with whipped cream or shaved chocolate.
This no-bake twist on the gluten-free cherry pie combines the creaminess of pudding with the brightness of cherries for a layered treat that’s as rich as it is refreshing.
Whether you’re baking it big or going bite-sized, switching crusts or stacking layers, these creative ideas help you reimagine the classic gluten-free cherry pie into something uniquely yours.
Serving Suggestions & Storage Tips for Gluten-Free Cherry Pie
Toppings That Elevate Gluten-Free Cherry Pie Flavor
You’ve baked the perfect gluten-free cherry pie, and now it’s time to dress it up and serve. While the pie stands on its own, adding the right topping can transform it into a full-on dessert experience.
Here are a few favorites that pair beautifully with the sweet-tart cherry flavor and flaky gluten-free crust:
- Vanilla Ice Cream: A classic combo. The cool creaminess balances the warm pie’s juicy filling.
- Whipped Coconut Cream: Ideal for dairy-free guests, this light topping keeps things allergy-friendly.
- Shaved Dark Chocolate: Sprinkle over the pie or whipped cream for a decadent bite.
- Lemon Zest: A bright contrast to the cherries that adds a touch of citrus sparkle.
Serving your gluten-free cherry pie slightly warm with a scoop of vanilla ice cream is about as nostalgic as dessert gets. But even chilled from the fridge, it holds its shape and flavor perfectly.
Want something less traditional? Serve mini hand pies with a glaze drizzle made from powdered sugar and almond extract—especially good for brunch or events.
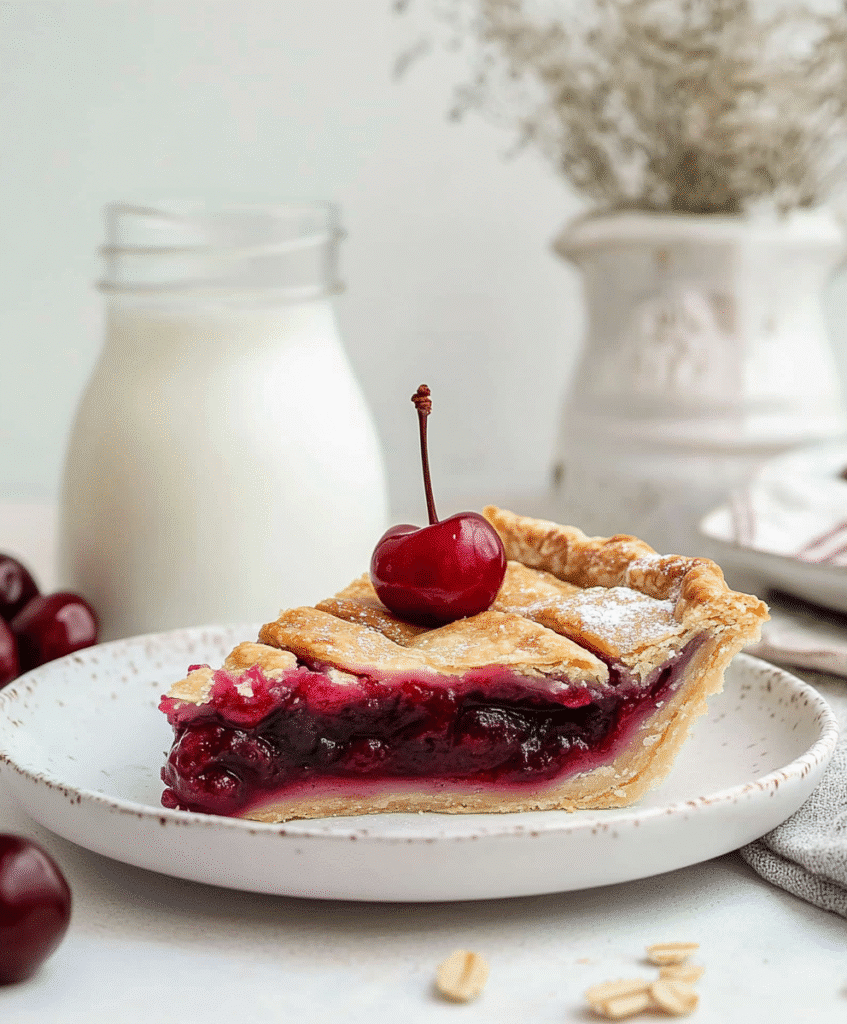
How to Store, Freeze, and Reheat Gluten-Free Cherry Pie
Proper storage means you can enjoy your gluten-free cherry pie for days—or even weeks if you freeze it correctly.
Storing at Room Temperature:
If your kitchen is cool and dry, you can keep your pie covered on the counter for up to 2 days. After that, move it to the fridge to maintain freshness.
Refrigeration:
Wrap the pie loosely in foil or place it in an airtight container. It will stay fresh in the refrigerator for up to 4 days. Reheat slices in the oven at 300°F for 10–15 minutes to crisp the crust again.
Freezing Tips:
- To freeze the whole pie, bake it fully, let it cool completely, then wrap tightly in plastic wrap followed by foil.
- Label and freeze for up to 3 months.
- To freeze by slice, wrap each piece individually and follow the same method.
- Reheat directly from frozen at 350°F for about 30–35 minutes or until warmed through.
Freezing a gluten-free cherry pie is a fantastic way to prepare ahead for holidays or celebrations. The crust may soften slightly in the freezer, but reheating restores most of the crispness and flavor.
These easy storage and topping strategies help you get the most from your homemade gluten-free cherry pie—from the first warm slice to the very last frozen bite.
Health Benefits and Nutritional Breakdown
Is Gluten-Free Cherry Pie a Healthier Choice?
Let’s be clear: gluten-free cherry pie is still dessert—but that doesn’t mean it can’t be part of a balanced, feel-good lifestyle. By ditching wheat-based flours and processed additives, you’re already making a smarter choice for digestion and inflammation.
Here’s why this pie stands out nutritionally compared to traditional versions:
- Gluten-Free Crust: Often made with blends like almond flour, brown rice flour, and tapioca starch—these are naturally grain-friendly and less processed than all-purpose wheat flour.
- Real Fruit Filling: You’re using whole, pitted sweet cherries, which are packed with vitamin C, fiber, and antioxidants.
- Natural Thickeners: Cornstarch or arrowroot are cleaner alternatives to modified food starches and synthetic binders.
- No Artificial Preservatives: Homemade pies skip shelf stabilizers often found in store-bought brands.
That said, it’s still a treat. But choosing a homemade gluten-free cherry pie over a grocery store version with mystery ingredients? That’s a win.
Want to go even cleaner? Use organic cherries, swap sugar for coconut sugar or maple syrup, and choose a dairy-free butter alternative to suit your dietary preferences.
Low Sugar and Vegan Substitutions
The beauty of a gluten-free cherry pie is that it’s incredibly adaptable. Whether you’re reducing sugar or avoiding animal products, there are simple ways to customize your recipe.
Lower Sugar Tips:
- Use sweet dark cherries—they need less added sugar than sour varieties.
- Replace granulated sugar with monk fruit sweetener, maple syrup, or coconut sugar for lower glycemic impact.
- Add a touch more lemon juice to enhance sweetness without relying on sugar.
Vegan Adjustments:
- Use vegan butter or coconut oil in your crust.
- Swap the egg wash for a non-dairy milk + maple syrup mixture for golden browning.
- Ensure your graham crackers or pie crust are fully dairy- and egg-free.
You’ll still get that classic gluten-free cherry pie flavor—juicy, buttery, and beautifully nostalgic—but now it’s tailored to your lifestyle.
From its antioxidant-packed filling to its allergy-friendly crust, this pie is more than just delicious—it’s thoughtful, inclusive, and perfect for modern kitchens.
Conclusion: A Gluten-Free Cherry Pie Worth Remembering
There’s something timeless about a slice of cherry pie—especially when it’s baked with love, flavor, and a little gluten-free magic. Whether you’re serving it at a summer picnic, around the holiday table, or sneaking a slice straight from the fridge at midnight, this gluten-free cherry pie delivers all the nostalgia without the gluten.
With a flaky crust, juicy cherry filling, and endless variations from graham cracker bases to creamy pudding layers, this dessert truly fits every table and every dietary need. It’s easy to customize, freezer-friendly, and guaranteed to convert even the most skeptical pie lovers.
So grab your cherries, roll that dough, and bring a slice of sweet summer to your kitchen—because this isn’t just a pie, it’s a celebration of gluten-free goodness.
Explore more indulgent ideas like our gluten-free German chocolate cake—it’s a showstopper dessert to complement your gluten-free cherry pie celebrations.
Follow us on Facebook & Pinterest for more gluten-free dessert ideas and community fun!
Frequently Asked Questions about Gluten-Free Cherry Pie
What is a gluten-free thickener for pies?
For a gluten-free cherry pie, the best thickeners are cornstarch, arrowroot starch, or tapioca starch. These naturally gluten-free ingredients help set the cherry filling without using wheat-based flour. Cornstarch is the most common choice—it creates a smooth, glossy texture that holds together beautifully after baking.
If you’re looking for an alternative with less corn, arrowroot is a great grain-free option, especially for paleo or allergen-friendly versions of your favorite gluten-free cherry pie recipe.
Is graham cracker crust gluten-free?
Traditional graham cracker crusts are not gluten-free because they’re usually made with wheat flour. However, there are several gluten-free graham cracker brands on the market that allow you to make a delicious alternative crust.
To make a gluten-free graham cracker crust, simply crush your favorite certified gluten-free graham crackers and mix them with butter and sugar. It’s a great base for a chilled or pudding-layered gluten-free cherry pie, especially during warmer months.
Is vanilla pudding gluten-free?
Vanilla pudding can be gluten-free—but not always. Some store-bought mixes contain modified food starch or other wheat-based thickeners. Always check the label for a gluten-free certification.
For guaranteed safety (especially for people with celiac disease), making homemade vanilla pudding is your best bet. It’s surprisingly easy and uses basic ingredients like milk, cornstarch, sugar, and egg yolks—all naturally gluten-free. When paired with cherry filling, it creates a creamy and indulgent twist on the classic gluten-free cherry pie.
